Where do I start with auto generation for my game?
May 19, 2024Procedural generation is a fantastic tool for some games. The idea that you can automatically generate components of your game could be very appealing. But where do you start?
Procedural Generation
(From Wikipedia), in computing, procedural generation is a method of creating data algorithmically as opposed to manually, typically through a combination of human-generated content and algorithms coupled with computer-generated randomness and processing power.
The idea of auto generation is too daunting, where do I start?
When you are dreaming up your game idea, it could feel daunting thinking "I want my levels automatically generated." But it doesn't have to be. Like any complex problem, it can be split into smaller steps to make the project simpler.
I have worked in development for nearly 20 years. The last 5 years or so, I led a team of web developers. I became really good at dividing problems down into easily understandable chunks that could eventually be brought together.
If you look at the problem "I want to auto generate my maze", that is a large task. But what about "I want to generate 5 blocks?" This is a much simpler task. This was the process I used for Touch Maze.
Splitting this project into small steps
The first step was to create the blocks I needed for my generation. Just regular assets in a scene in unity. There was no generation here.
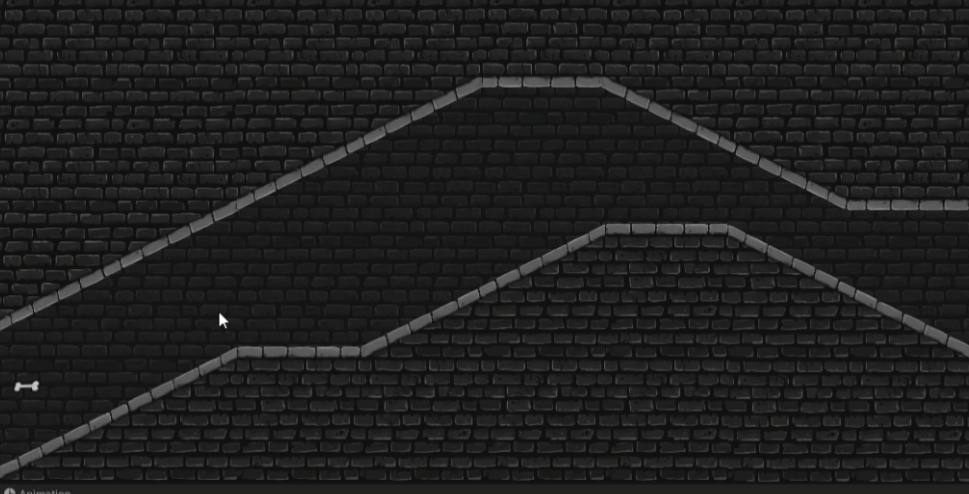
Once I had these pieces, I was able to create prefabs with those blocks that would drive the rest of my algorithm. The prefabs are then passed from Unity into my code controller. I then use game object initialization whenever I want to create a new copy of a specific prefab. I won't go into code in this blog.
The next step is focusing in on the roof of the maze. I created an array of all of the blocks that could be a roof block and I randomly select one each time a new block is needed in the maze. I did not worry about the y coordinate. The blocks do not match well now. But the key is that they are auto generating.
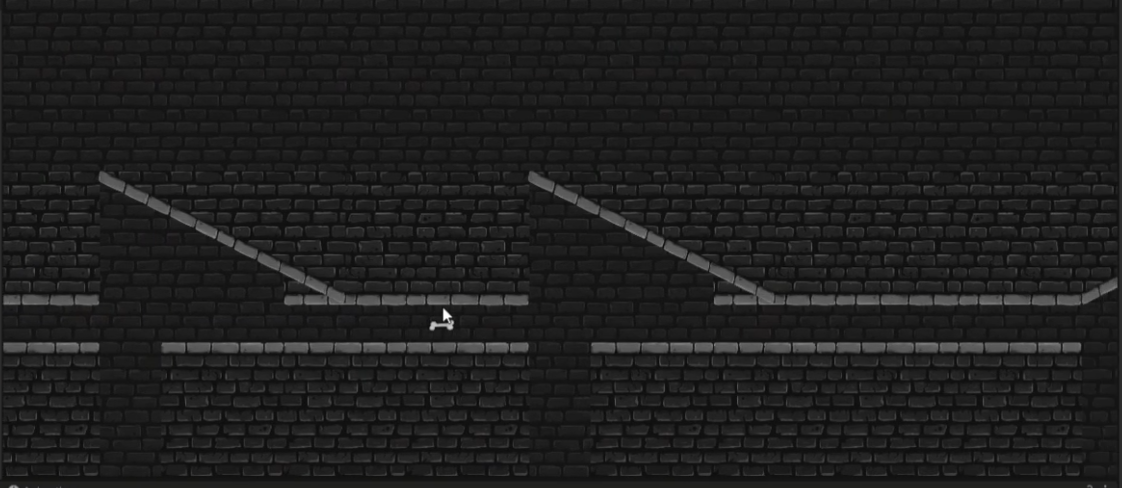
Next, I did the same task for the floor blocks. Now I have floor and ceiling blocks automatically being selected.
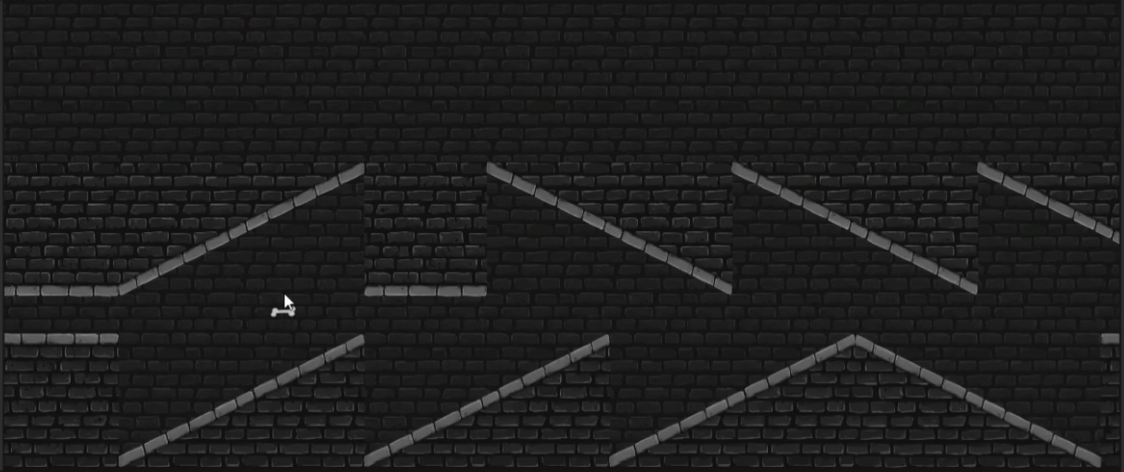
What about the y coordinate?
For the next step, the y coordinate needed to be figured out. So, I expanded my data structure to include not only what roof pieces were available, but also what roof pieces could be used after a specific roof piece at a certain y level in the maze. So, when the algorithm selected the next block, it would then properly align with the previous one.
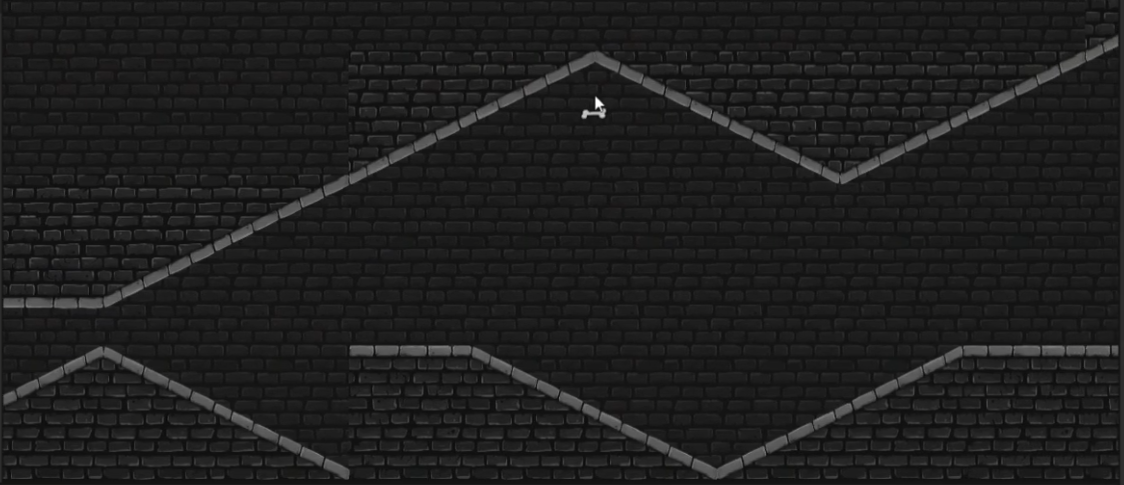
At this point, there were still issues. The maze would leave off the top of the screen. But this is OK at this point. The task at hand here was making sure the maze blocks aligned.
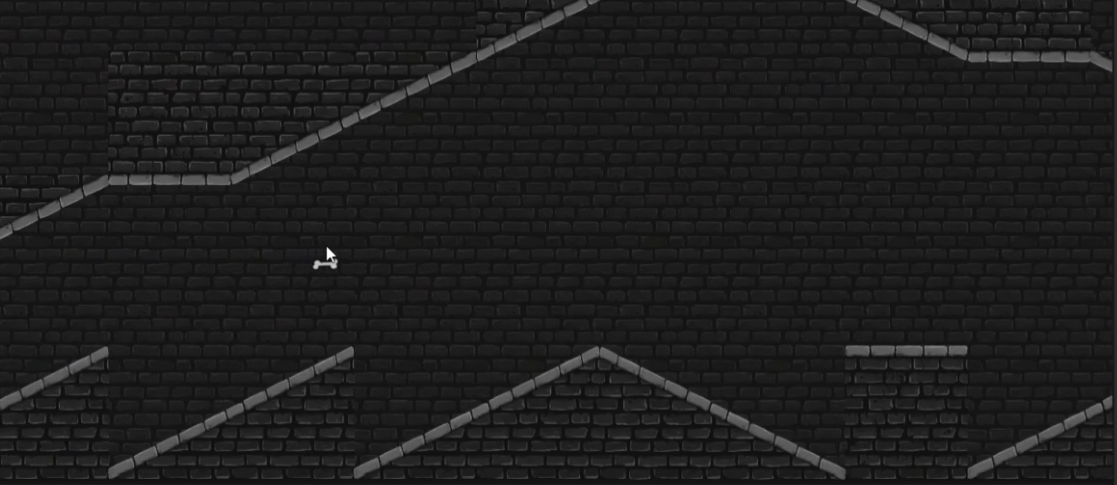
Repeat these steps again for the floor and we will start seeing the vision of the maze starting to form. As mentioned before, there are still issues, but we can work on that next.
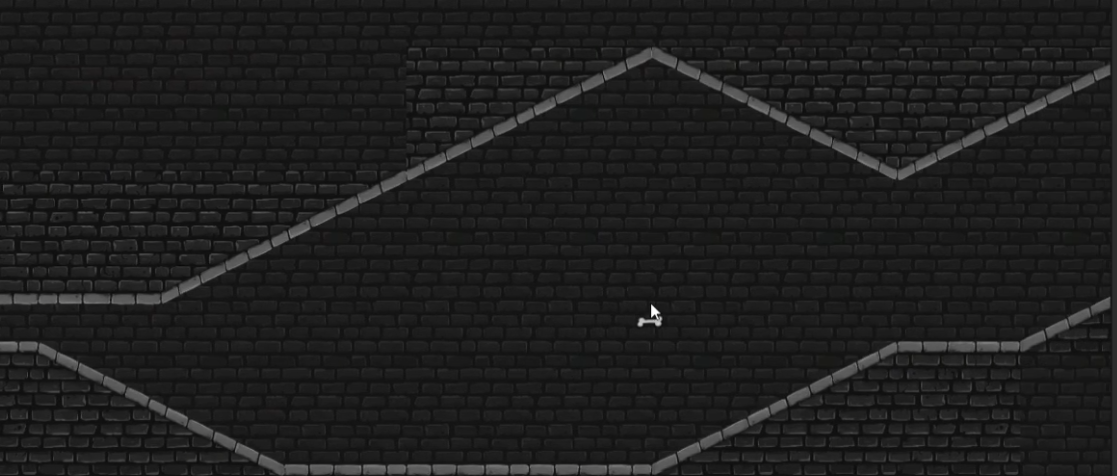
The last step
We now have the floor and ceiling mostly correct. The last step is to test. Find the issues where the blocks go off the screen. Or analyze the algorithm when we have the maze cross. In my case, there were small changes needed to overcome these issues.
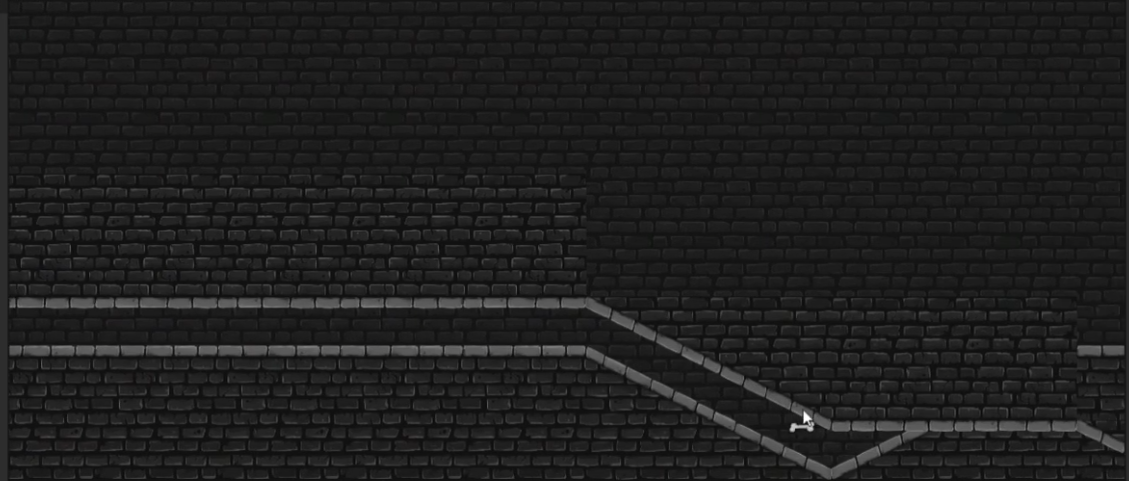
The final result can be scene in the release of Touch Maze. Videos can be scene on YouTube or on Steam. The game can be played on Steam on May 28th and on Android soon.
Where is the code?
I chose to focus this blog and video on the process instead of the code. Leave a comment on the above video if you would like me to go through the code I used.
Check out the Steam page now!
Touch Maze will be released on May 28th on Steam. Visit the Touch Maze Steam page for more information.